How To Edit An Invoice in Quickbooks

Written by: Editorial Team
Published on: September 23, 2021
There are things that you need to consider why you need to personalize your invoice:
- Do you like a more subtle image for your brand?
- In all the information indicated on your invoice, what field do you think matters most to every customer? How do you regard information when the information is too much information? Were you able to give a detailed summary to your clients?
- Are your invoices uncomplicated to read? Which field is the most imperative? Is there a need for you to change the fonts or improve?
- What is the tone and personality of your business? Were you able to effectively show them this tone? Was it professional, casual, or anything?
How to edit an Invoice in QuickBooks Online
QuickBooks Online will provide you valuable tools to make captivating and admirable-looking invoices. Changing and customizing the layout and appearance of the sales forms is an uncomplicated and best way to improvise your business' communications. You don't have to be a graphic designer to make commendable forms, and you just need to follow these easy steps on how to add the information that is imperative to your business.
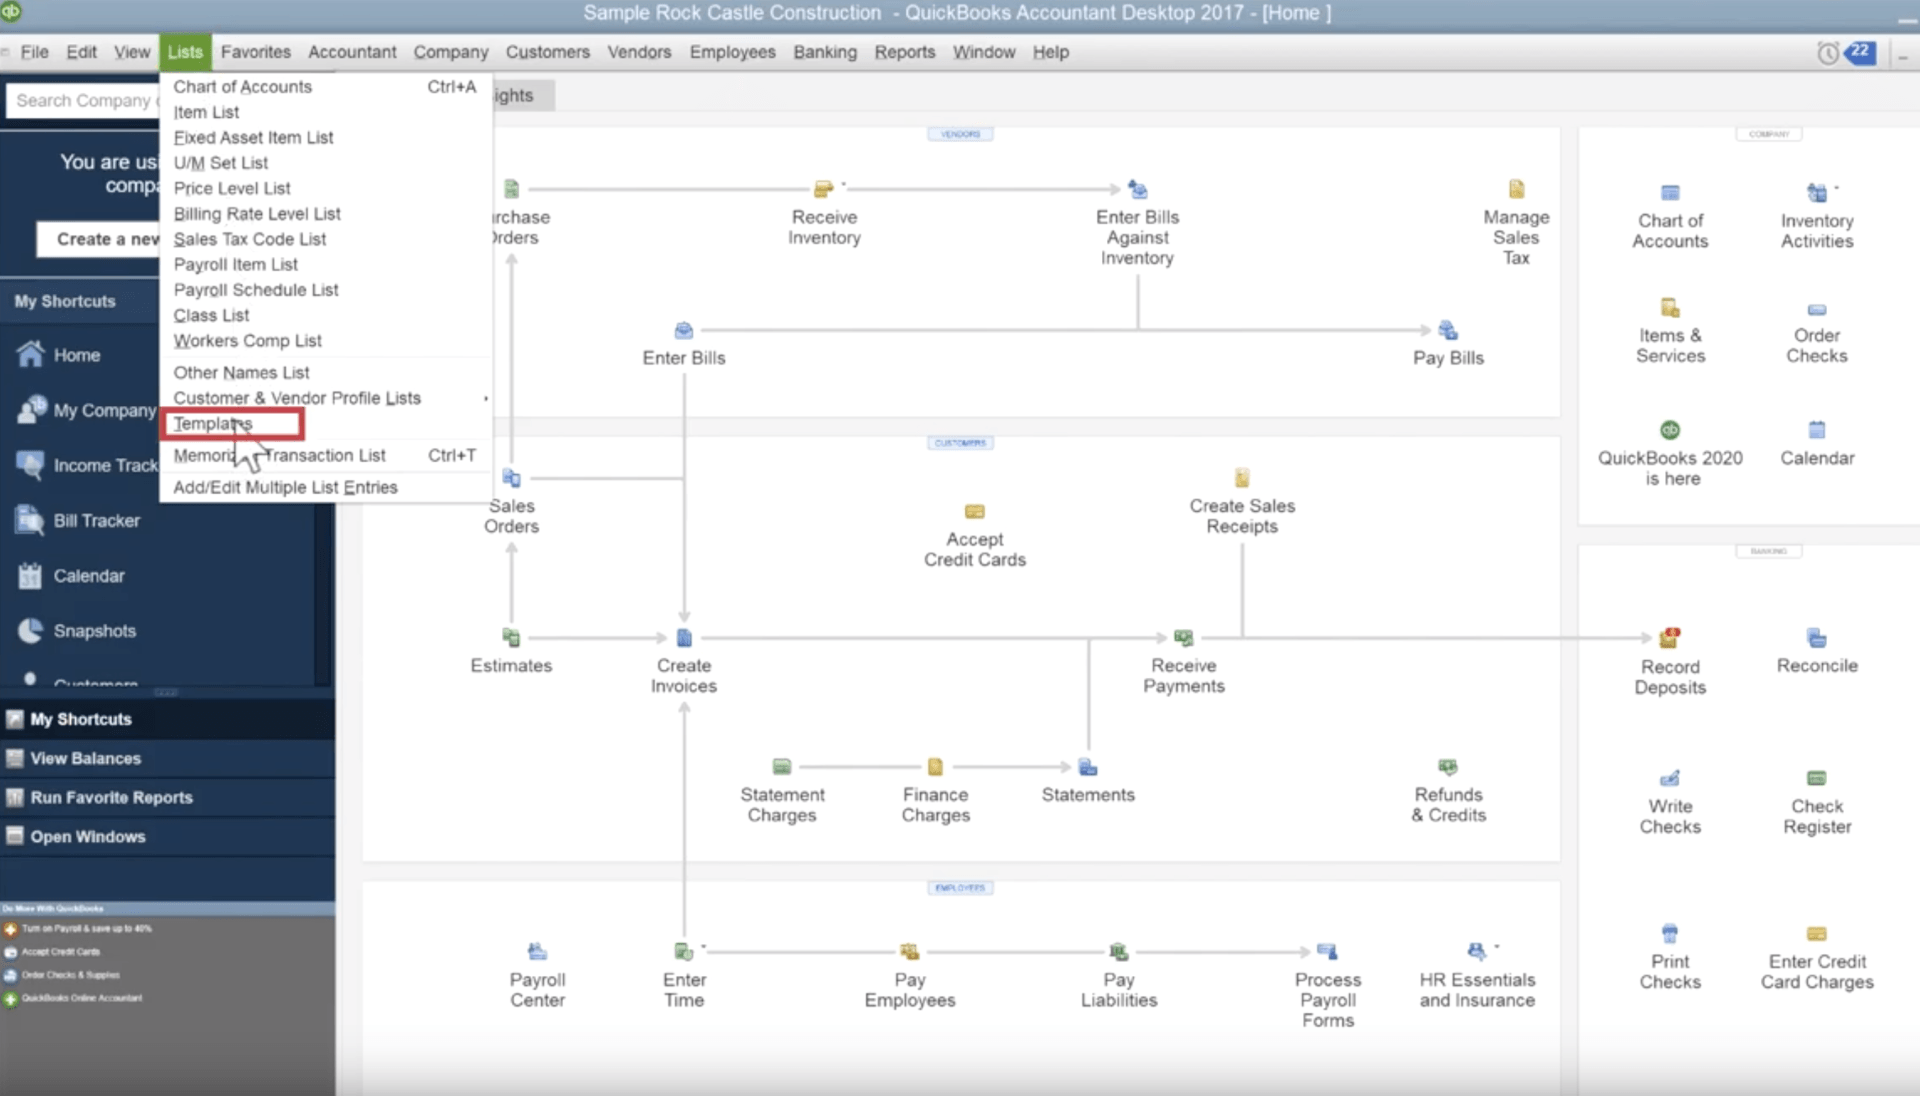
Step 1: Open QuickBooks Templates
To formally start, you need to check first the templates of QuickBooks. You will begin by clicking Quickbooks, select the List, then go to Templates.
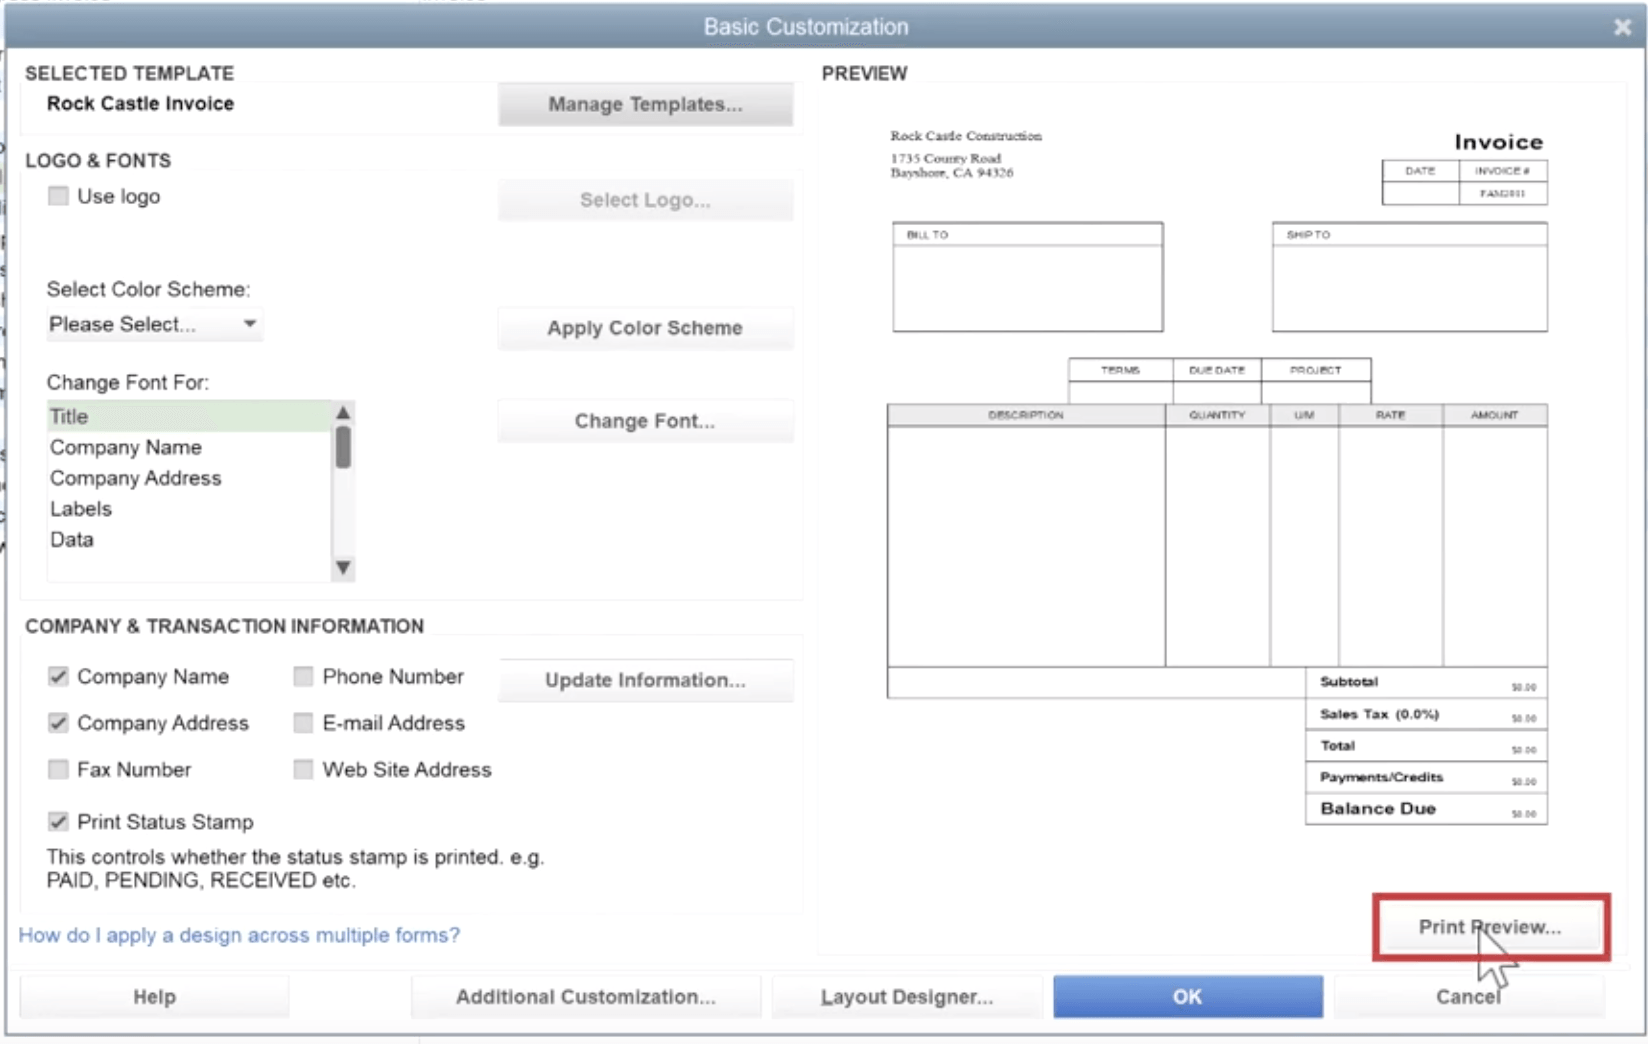
Step 2: Check the default template
Check the original template by opening up the Rock Castle. Then, click Print Preview so you can better see the default template of the invoice. This is where the customization happens.
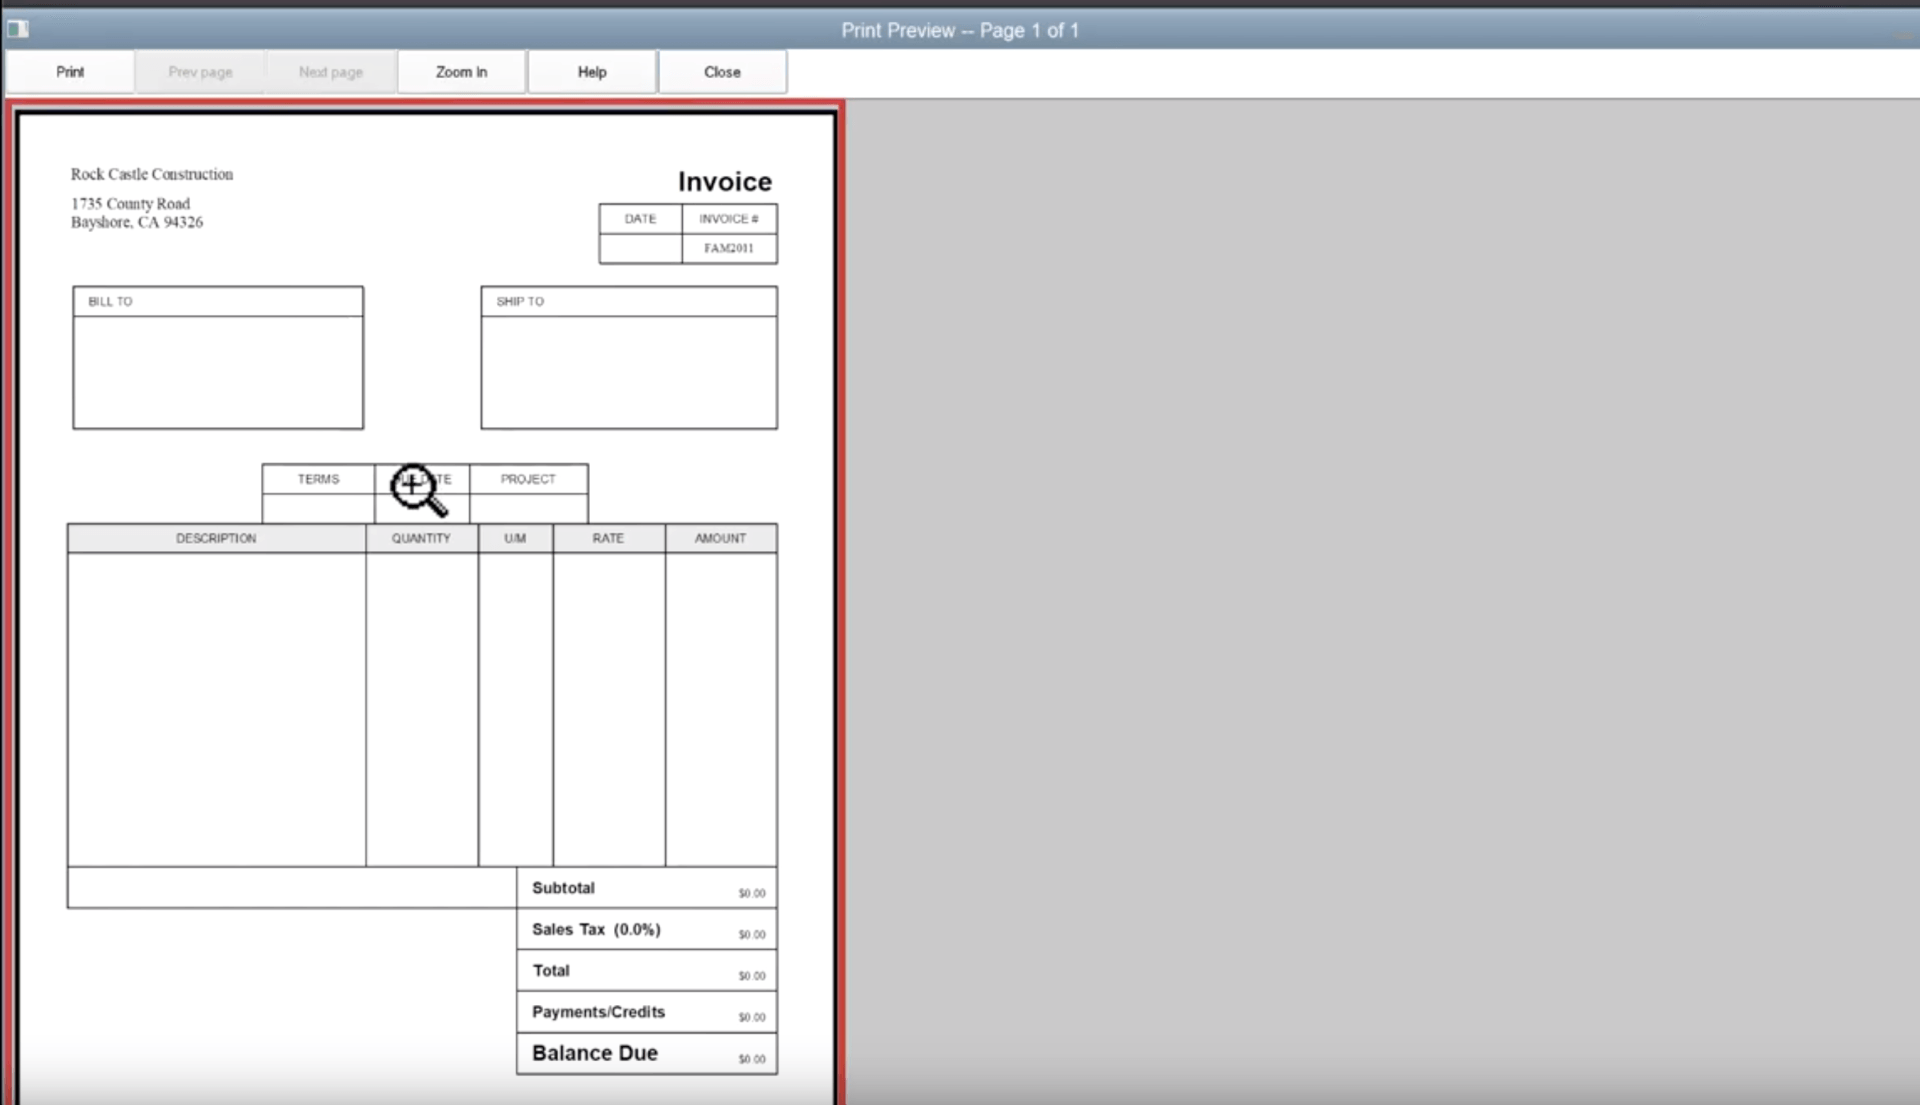
Next, you will exit the Print Preview; this will take you back to the page where you can change the Invoice Template.
Step 3: Add your customized logo
The logo is one of the essential parts of changing the templates of your invoice. At this step, you will begin to customize your logo by following these easy steps.
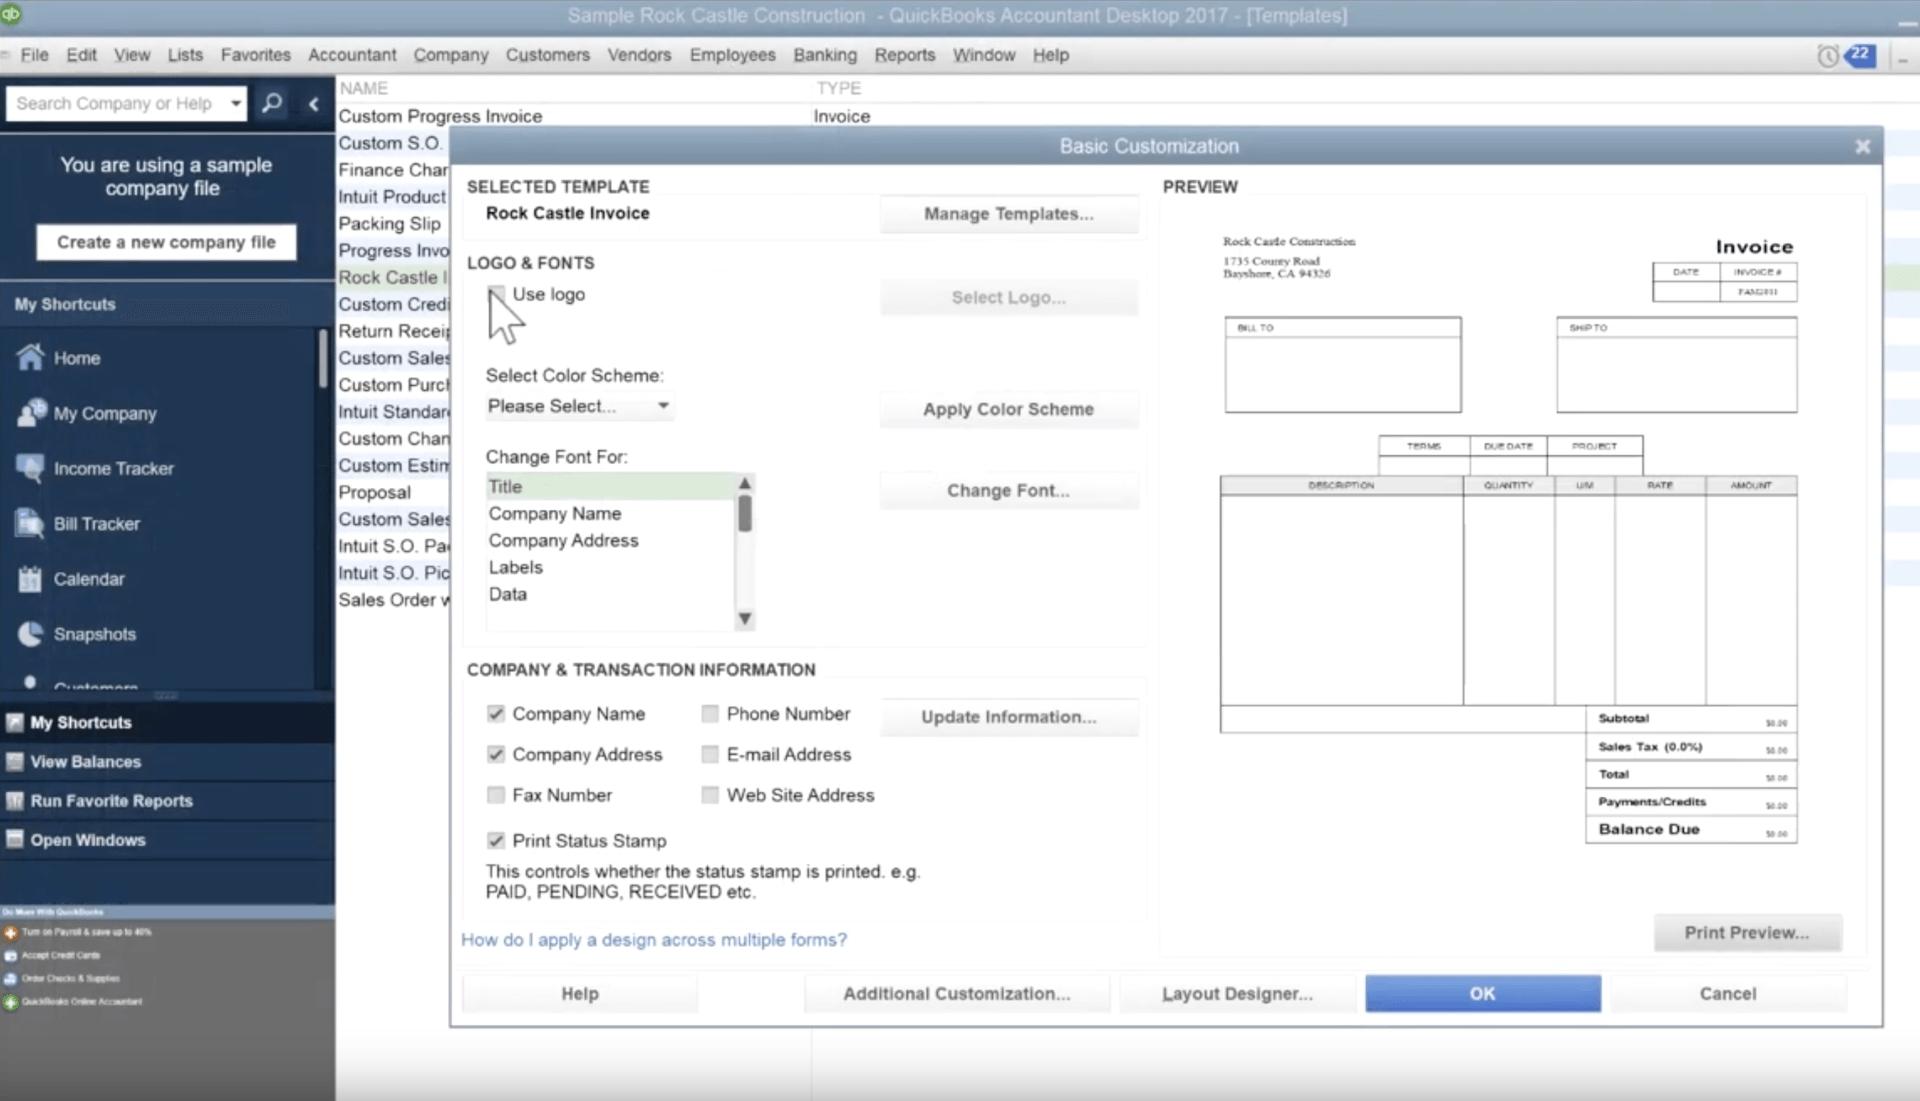
- Go to the Basic Customization Page - Once you go back to your Print Preview. The Basic Customization page will pop up. This is the first step of the personalization process.
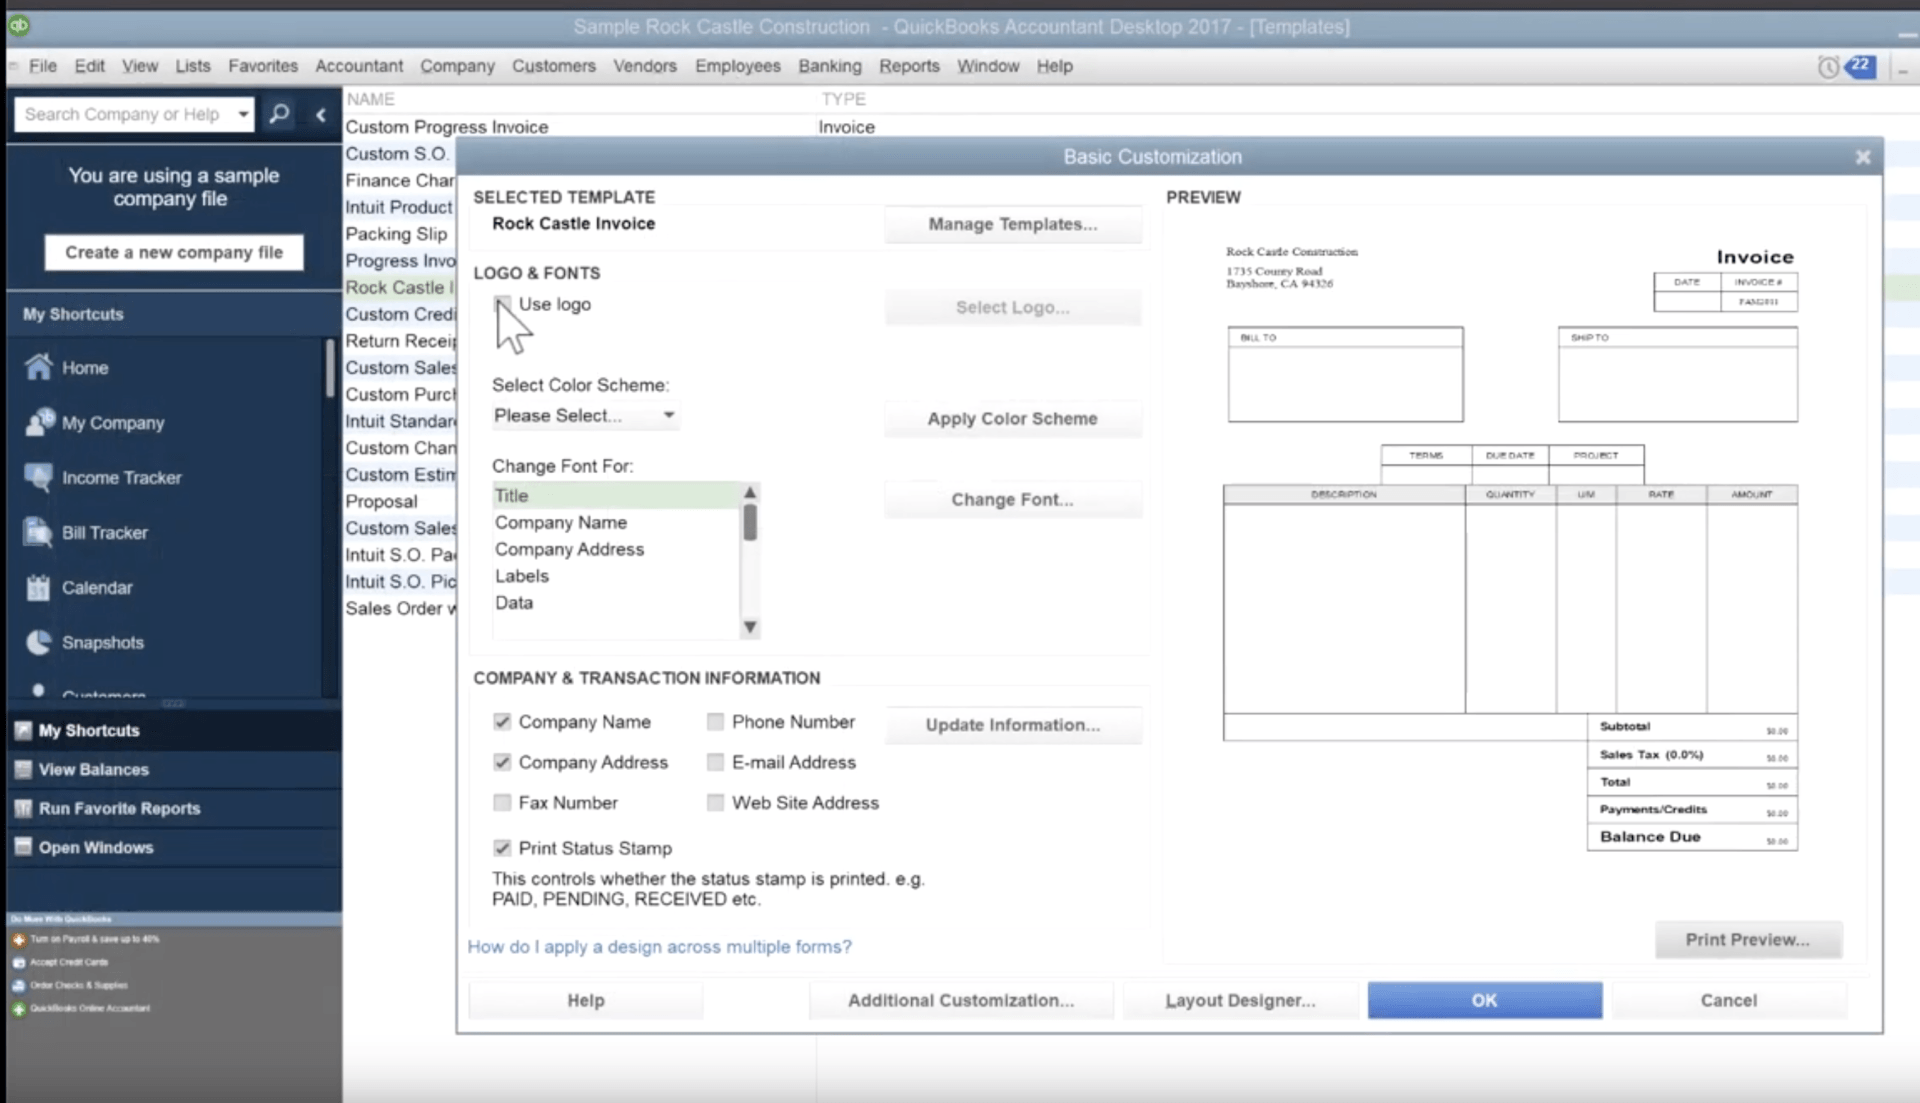
- Upload your Logo - This constitutes two parts; first, you need to toggle "Use Logo'' on the previous Basic Customization Page. Once done, a box will prompt, allowing you to choose the best logo for your customized invoice template.
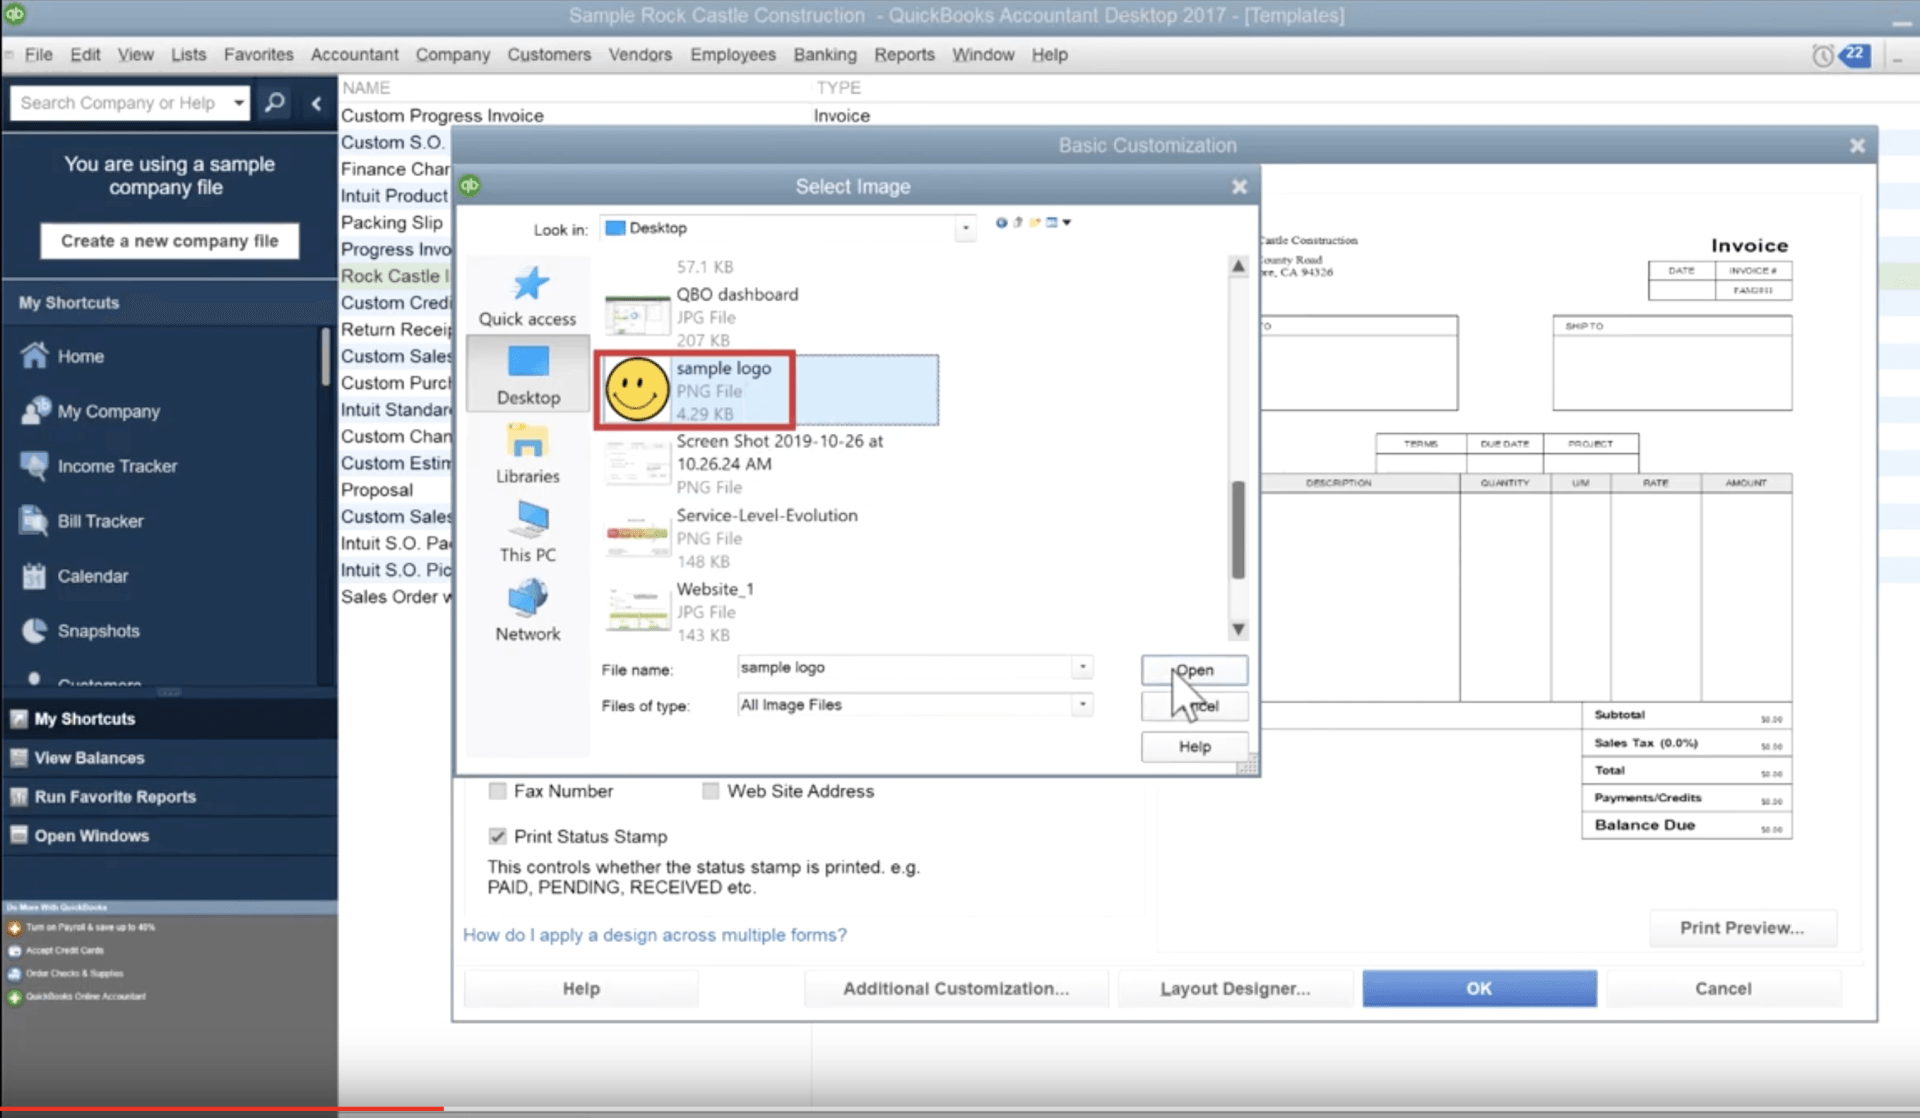
Once uploading, the invoice preview will show your desired logo on the basic customization page.

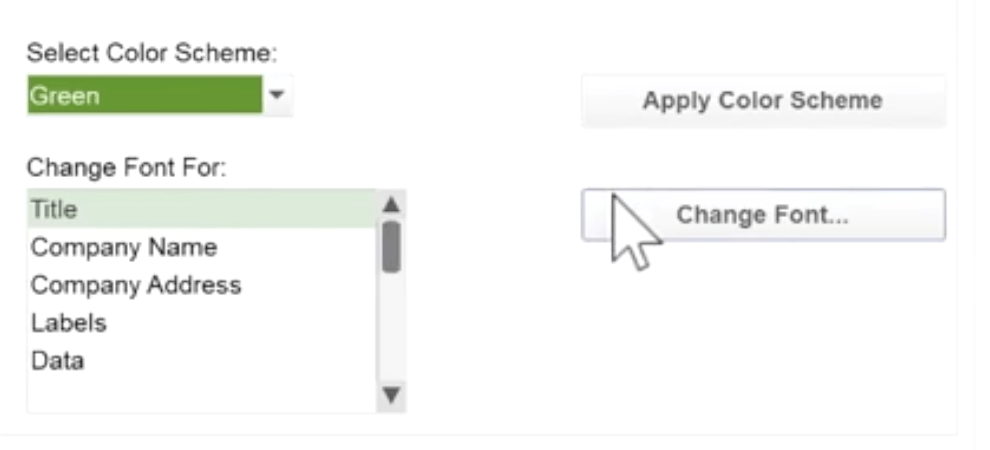
Step 4: Customize Font and its Color Scheme
You can change and personalize your Color Scheme on the same basic configuration page from default and choose your desired choice. Put your color choice on the Color Scheme, put under what category (e.g., Title, Company Name, Company Address, Labels, Date), then select "Change Font."
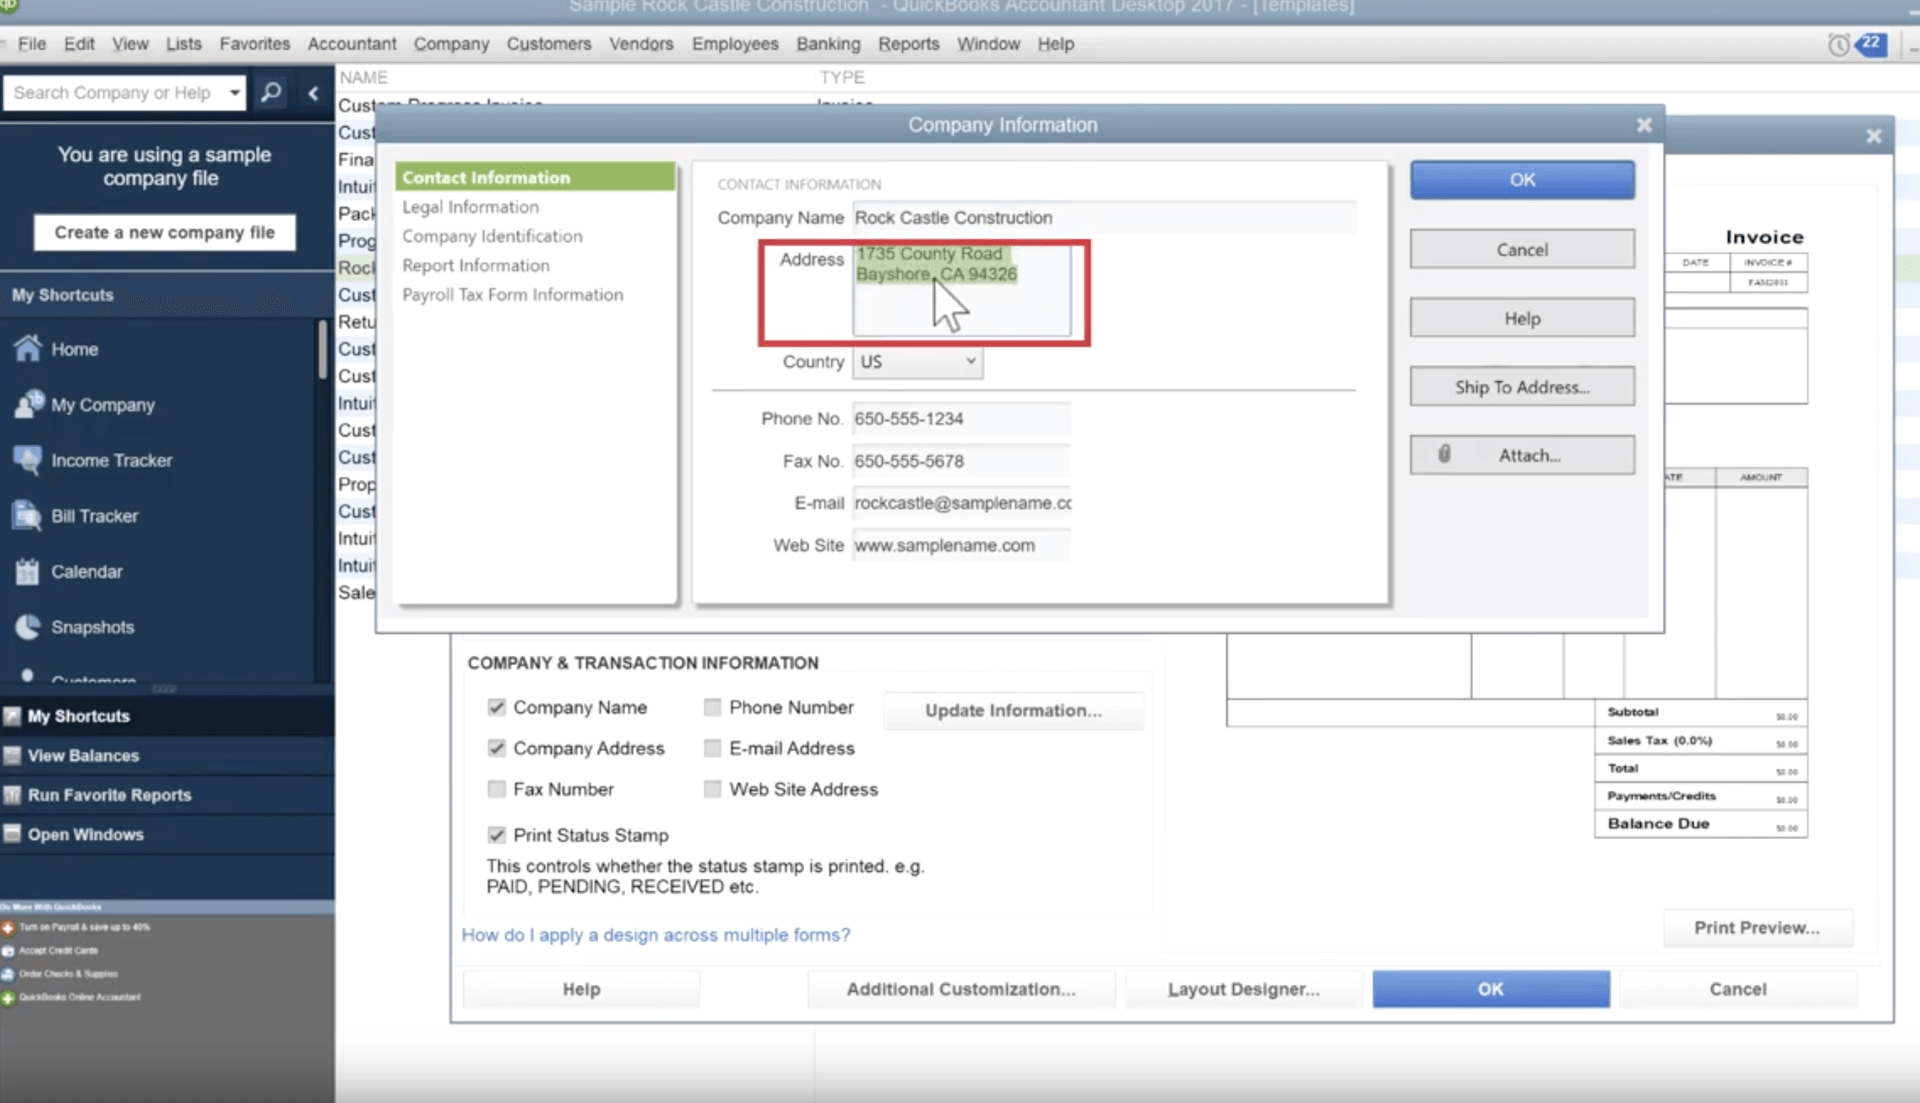
Step 5: Update the Information of your Company
In the next step, we will also improve your template invoice by updating every company's information. To do this, click "Company Information." This will lead you to a dialog box that entails the information as follows:
- Contact Information
- Legal Information
- Company Identification
- Report Information
- Payroll Tax Information
You can alter the information in each tab thereof based on your preference. Click "Update Information" and put all the pertinent information under each category.

Step 6: Customize the Invoice Template Layout
To proceed with customizing how your template will be laid out, select the "Layout Designer" button. This will take you to the page called "Layout Designer." You will see your default template, and it will show how each information is organized and laid out.

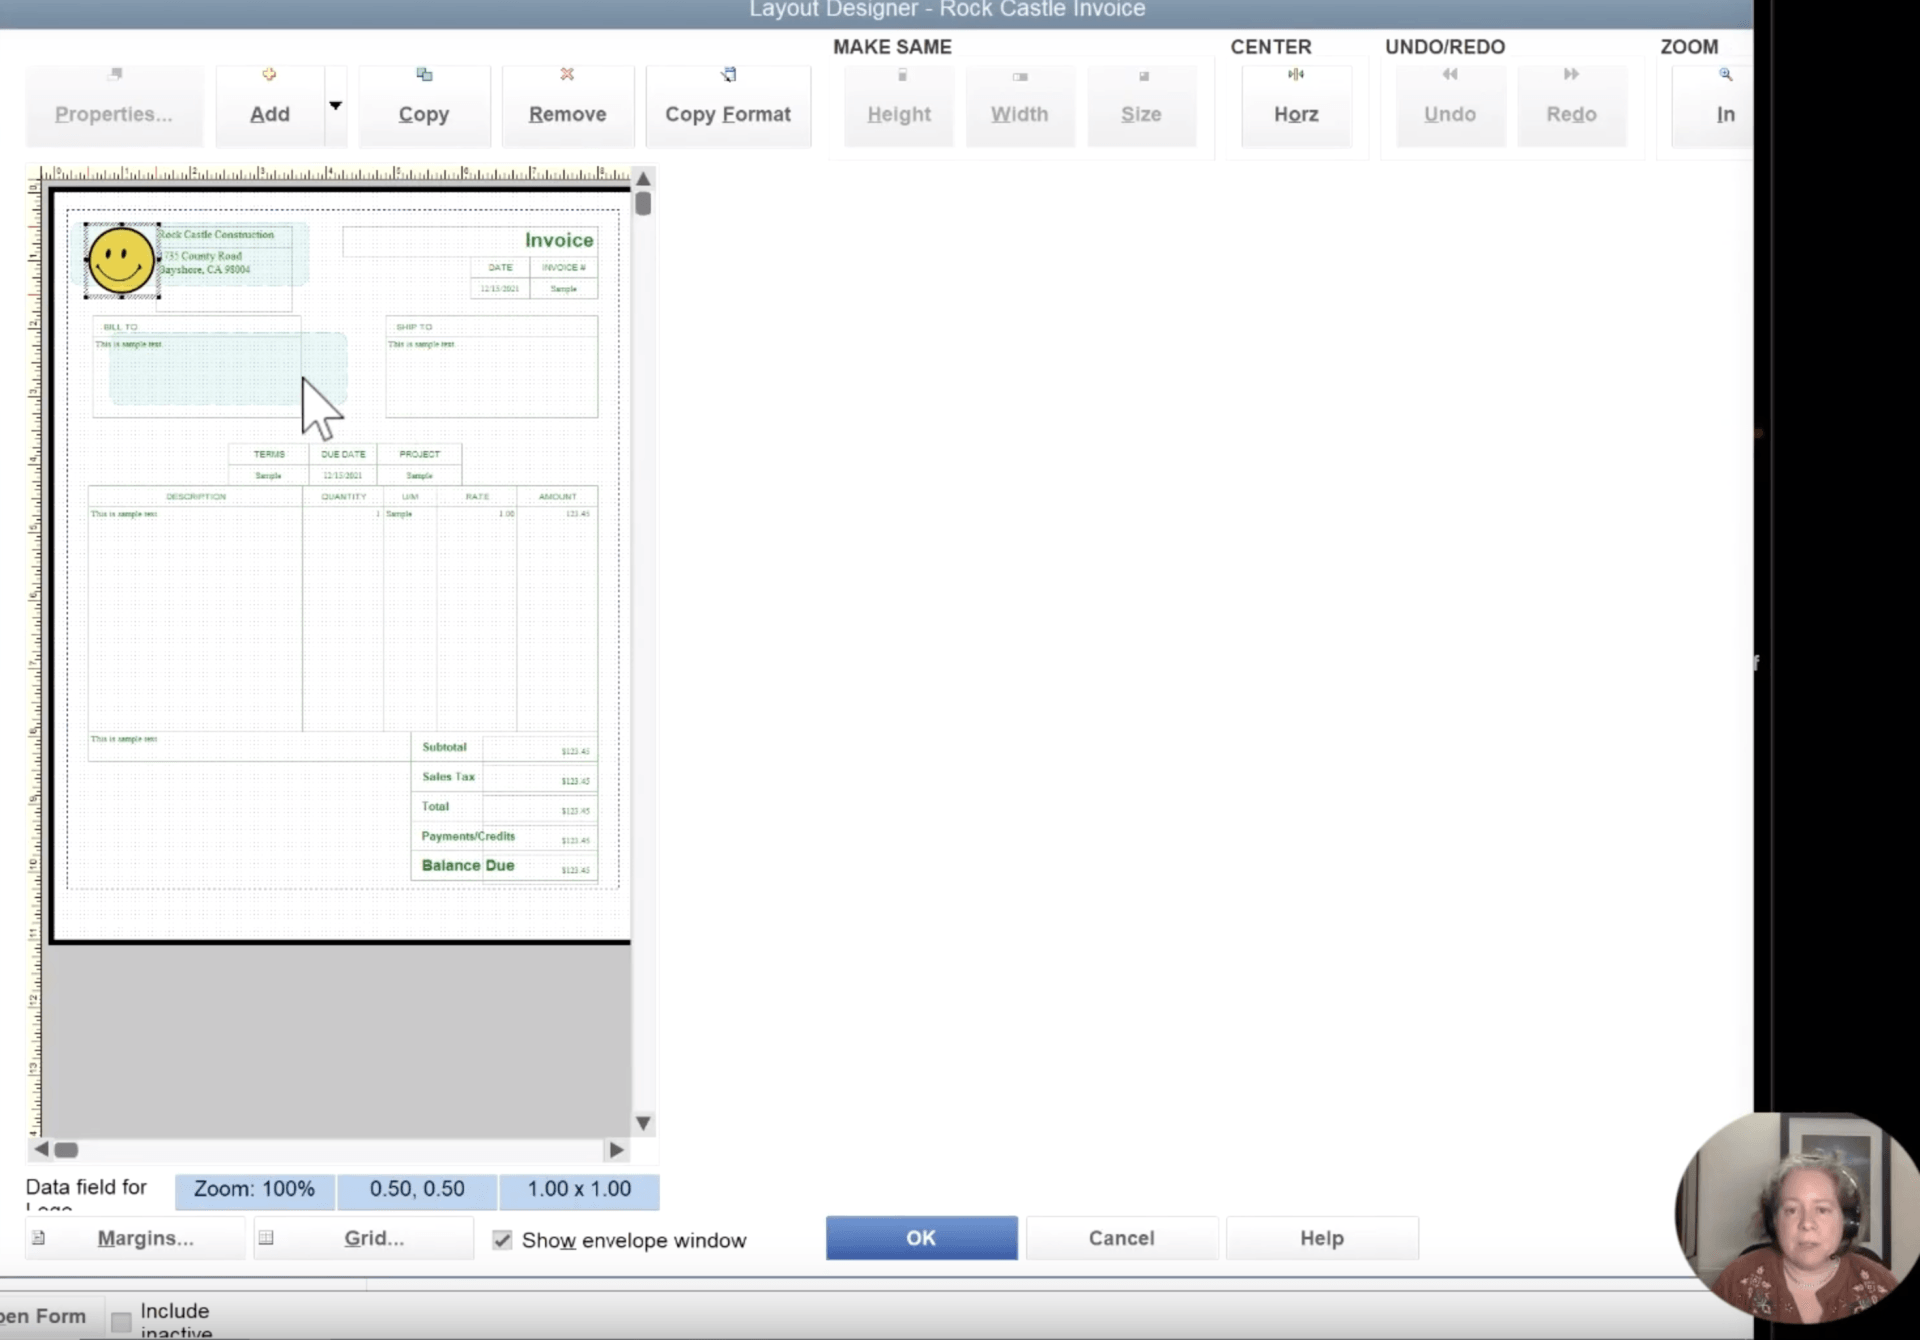
- Here, you will notice the soft green boxes. When you mail in a conventional envelope, these boxes will show where the paper will line up. On the one hand, if you plan to print these mailing envelopes, you need to make sure that you pay attention to what is shown on the soft green boxes. You will put the necessary information based on what was shown on the soft green boxes.
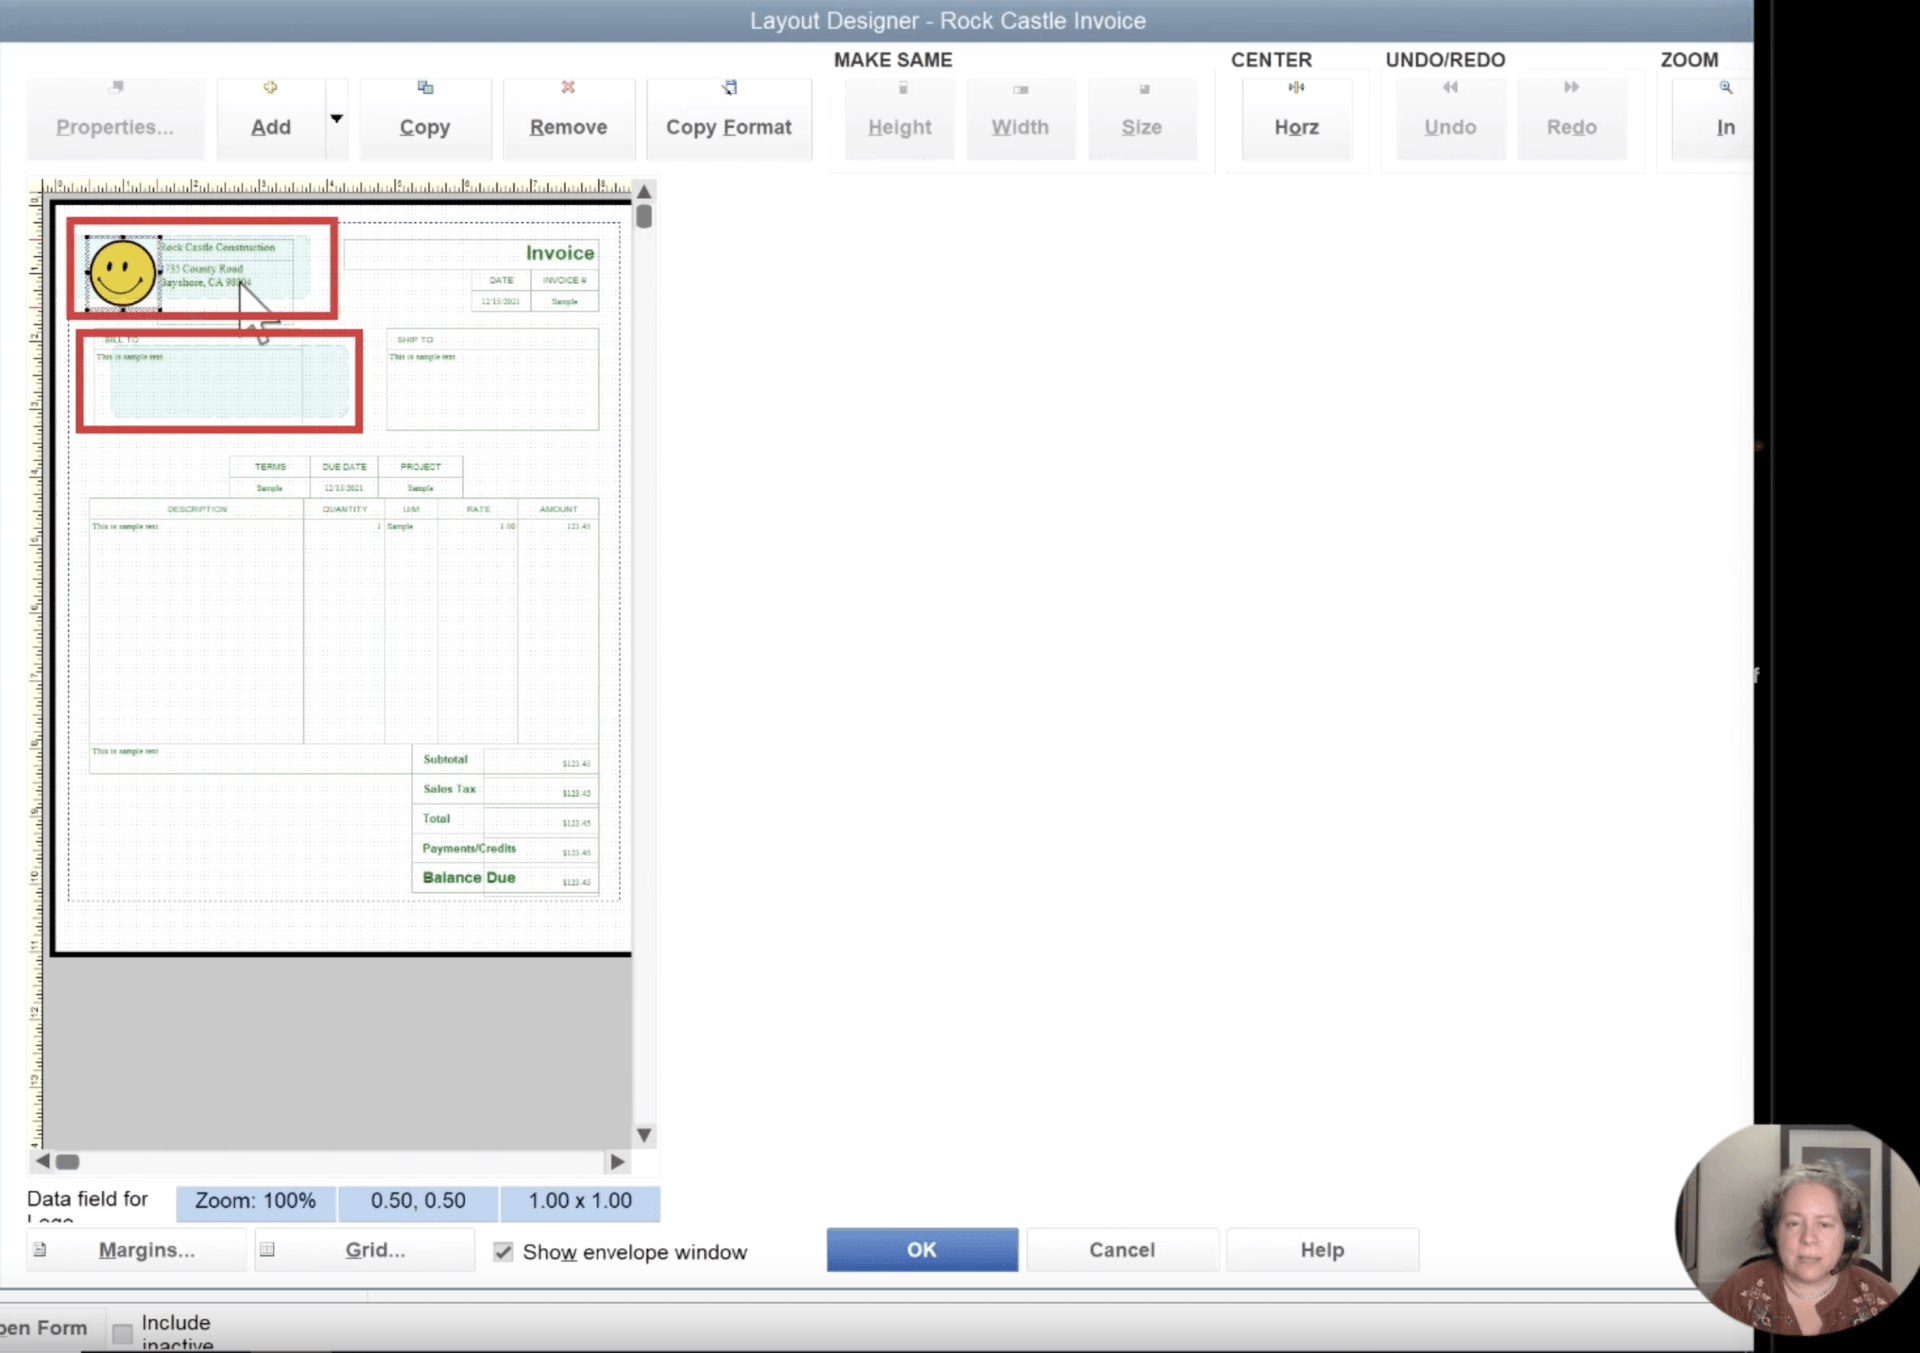
- If you wanted to reposition some components of your invoice, the information around it, like "Terms," "Due Date," etc., will be changed. You can drag them to the location you want them to be.
- After customizing the layout, you need to go back to the Basic Customization page. Just click "Cancel" or "Okay" on the Layout Designer. Once you're at that screen, click the button next to the Layout Designer. This button shows "Additional Customization."
- You will see on the Additional Customization specific rows that correspond to the text. Default Title is on the first row, and the Invoice Ticket is on the title outlined in the field. Once you change the domain to something else, the preview column on the right-hand will change and update the text. This applies to each row that can be seen. (e.g., Date, Invoice Number, Bill To, Ship To, Terms, Due Date, etc.)
- If you want to remove a specific field in the invoice, the same process will take place. Just remove the check on Print and Screen, then those fields will be excluded. Once done, these fields will not show on the invoice.
If you carefully follow the steps on your computer, you will realize that the flexibility of the customization is excellent and suitable in a blog post.
How to turn off your Progress Invoicing feature:
1. Choose the Gear icon
2. Select the Account and Settings button
3. Click on the Sales on the left side ofthe menu
4. Proceed with Progress Invoicing
5. You can proceed with editing by clickingon the edit icon in the Progress Invoicing section.
6. To turn the Progress Invoicing off,uncheck the field that says "Create multiple partial invoices from asingle estimate box.
7. Click Save and Done.
How to Personalize your email message
When the recipient receives the invoice, you can also change the message that will be read by the customers thereof. You go to the Emails tab, change the greeting, subject line, and the body of the message. This will allow you to change the default message in every email to make things more personalized.
In customizing your invoice, there are some things that you need to avoid to prevent issues when uploading the form. The File types that you need to avoid are as follows:
- Audio File
- Word Art & Clip Art
- GIFs
- Embedded Files & Multimedia
- Hidden links
- Amalgamation of Fields
- Files Excedding 2MB
- Files that are not doxc type
Related Articles